You must make sure that your development environment meets the Well-Enabled Services (WES) Generator prerequisites, including access to an instance of the Microsoft Provisioning System (MPS) and the service you plan to extend, before you begin. See Prerequisites for Deployment and Deploy the WES Generator for more details.
These sample procedures use the Windows-Based Hosting namespace to show how the WES Generator Microsoft Visual Studio add-ins can be used to create a service class.
The WES Generator Visual Studio add-ins include a new project type, MPS WES Project, and a new project template, Well Enabled Service.
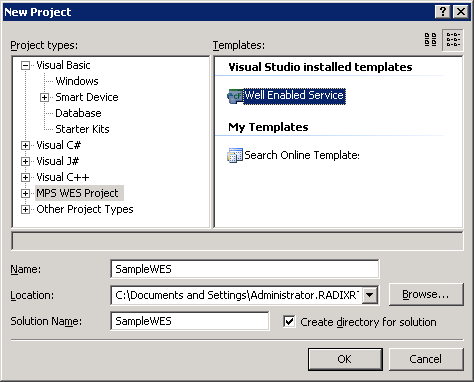
Figure: WES Generator add-ins to New Project in Visual Studio
Now that you have created a sample project, you can add a namespace to it.
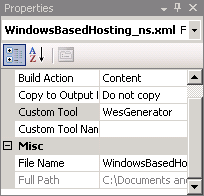
Now that you have added a namespace to your sample project, you can associate the WES Generator with it.
Once this is complete, the WES Generator will automatically run any time a change is made or this project is saved. When this happens, the WES Generator will automatically update all the associated files.
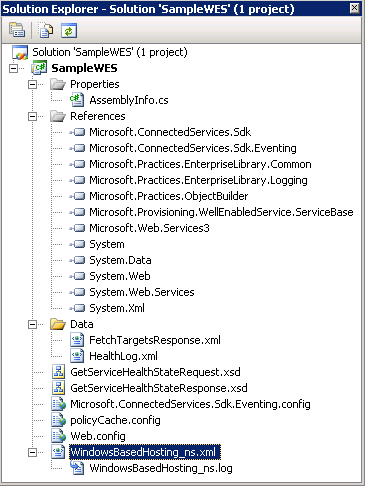
You can now expand all of the elements in the Solution Explorer window to verify that the WES Generator updated the project.
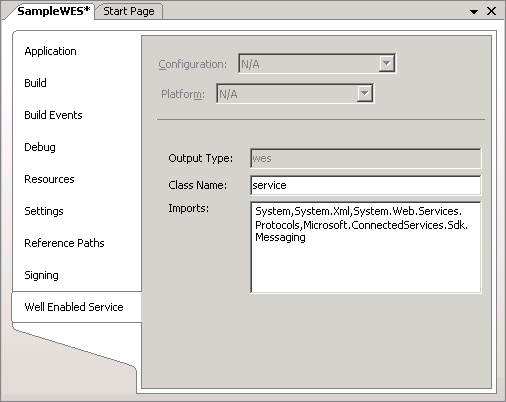
You can also right-click your sample project name, SampleWES, in the Solution Explorer and select properties to view the settings on the Well Enabled Service tab.
At this point, you can now compile your project by right-clicking SampleWES and then selecting Build. To verify that the compile worked, look in the bin\debug directory of the project to verify the existence of the SampleWES.dll.