You can use views to filter and group data gathered by Operations Manager to make the data easier to understand. The following steps show how to create a view for the health of the sample application.
 Note Note |
|---|
| This topic assumes that you are using the management pack created in the How to Create a Management Pack With a Discovery Using the Windows Registry Template topic and subsequent topics. |
Creating a view
-
In the main window of the authoring console, click the Presentation space, click Views, and then right-click in the Views list and click New and then Folder from the context menu.
-
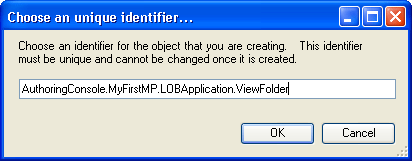
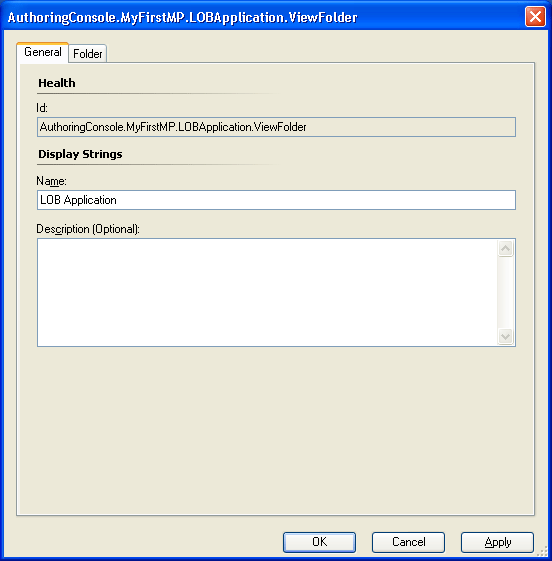
Change the Element ID of the new folder to AuthoringConsole.MyFirstMP.LOBApplication.ViewFolder
-
Change the Display name of the folder to LOB Application
-
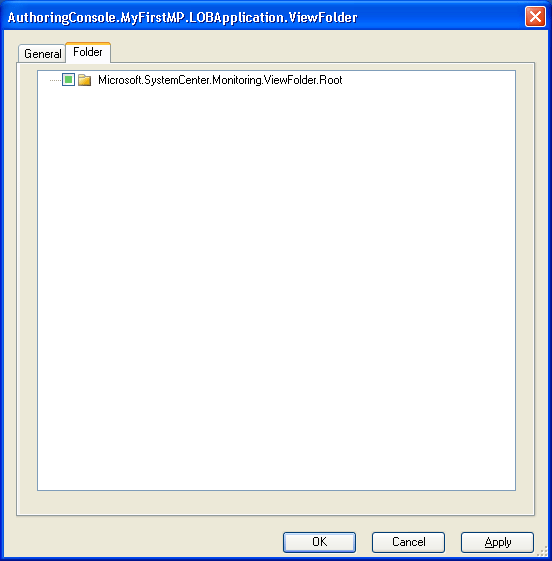
On the Folder tab, select the root folder, then click OK.
-
Right-click anywhere in the Views list, click New, and then click State View.
-
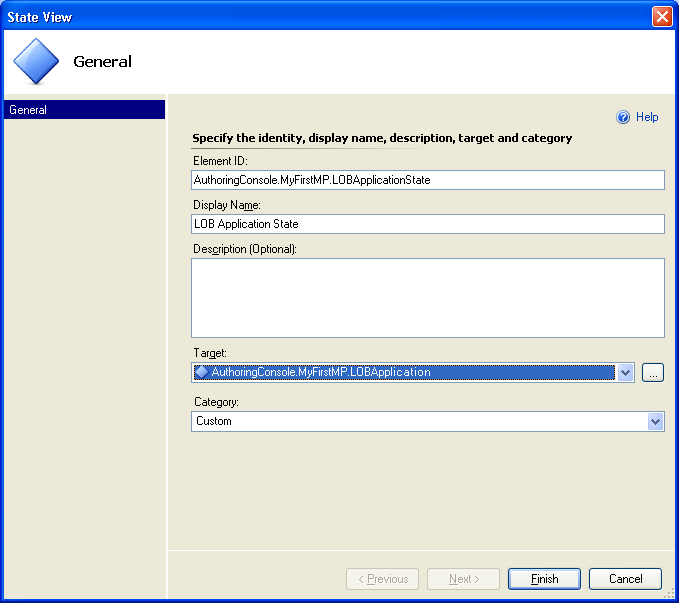
Enter AuthoringConsole.MyFirstMP.LOBApplicationState as the value for the Element ID.
-
Enter LOB Application State in the Display Name field.
-
In the Target drop-down list, click AuthoringConsole.MyFirstMP.LOBApplication, and then click Finish to return to the Views list.
-
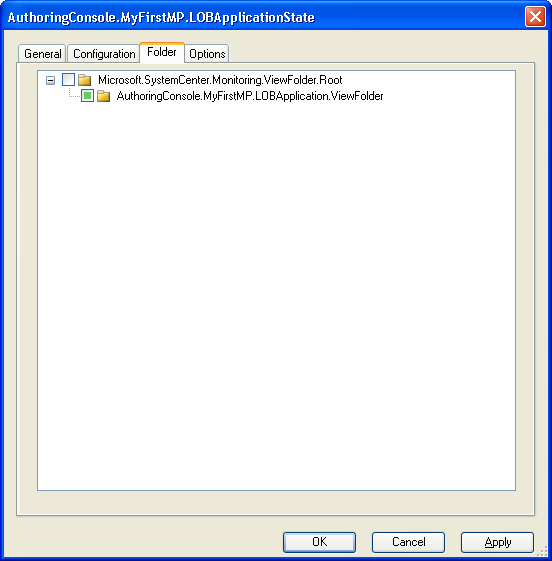
Right-click the view you created, and then click Properties, click the Folder tab
-
In the folders tab, select the folder you just created. Note that it’s possible to select more than one folder in which the view appears. In this case, de-select the root folder if necessary so that only the AuthoringConsole.MyFirstMP.LOBApplication.ViewFolder is selected, and then click Apply.
-
Save the management pack by select File and Save from the authoring console menu.
You have now created a view that you can use to easily see information collected about the sample application.